Only organisation owners and admin coaches have permission to enable integrations for clients.
Navigate to Account > Integrations to manage all integration settings.
Choose between two billing approaches:
How it works: Purchase specific slots in groups of 5 (minimum purchase)
Best for: Organisations wanting precise control over which clients have access
Billing: Pay for the slots you purchase
Assignment: Manually assign slots to individual clients
How it works: Integrations are available to all clients automatically
Best for: Organisations wanting hands-off management
Billing: Automatic charges as clients connect (minimum billing applies)
Assignment: No manual assignment required

Purchase slots in groups of 5
Assign individual clients to available slots
Assigned clients receive automatic notifications:
Push notification (immediate)
Banner on home screen (persistent)
View assigned clients and make changes as needed through the integration dashboard.
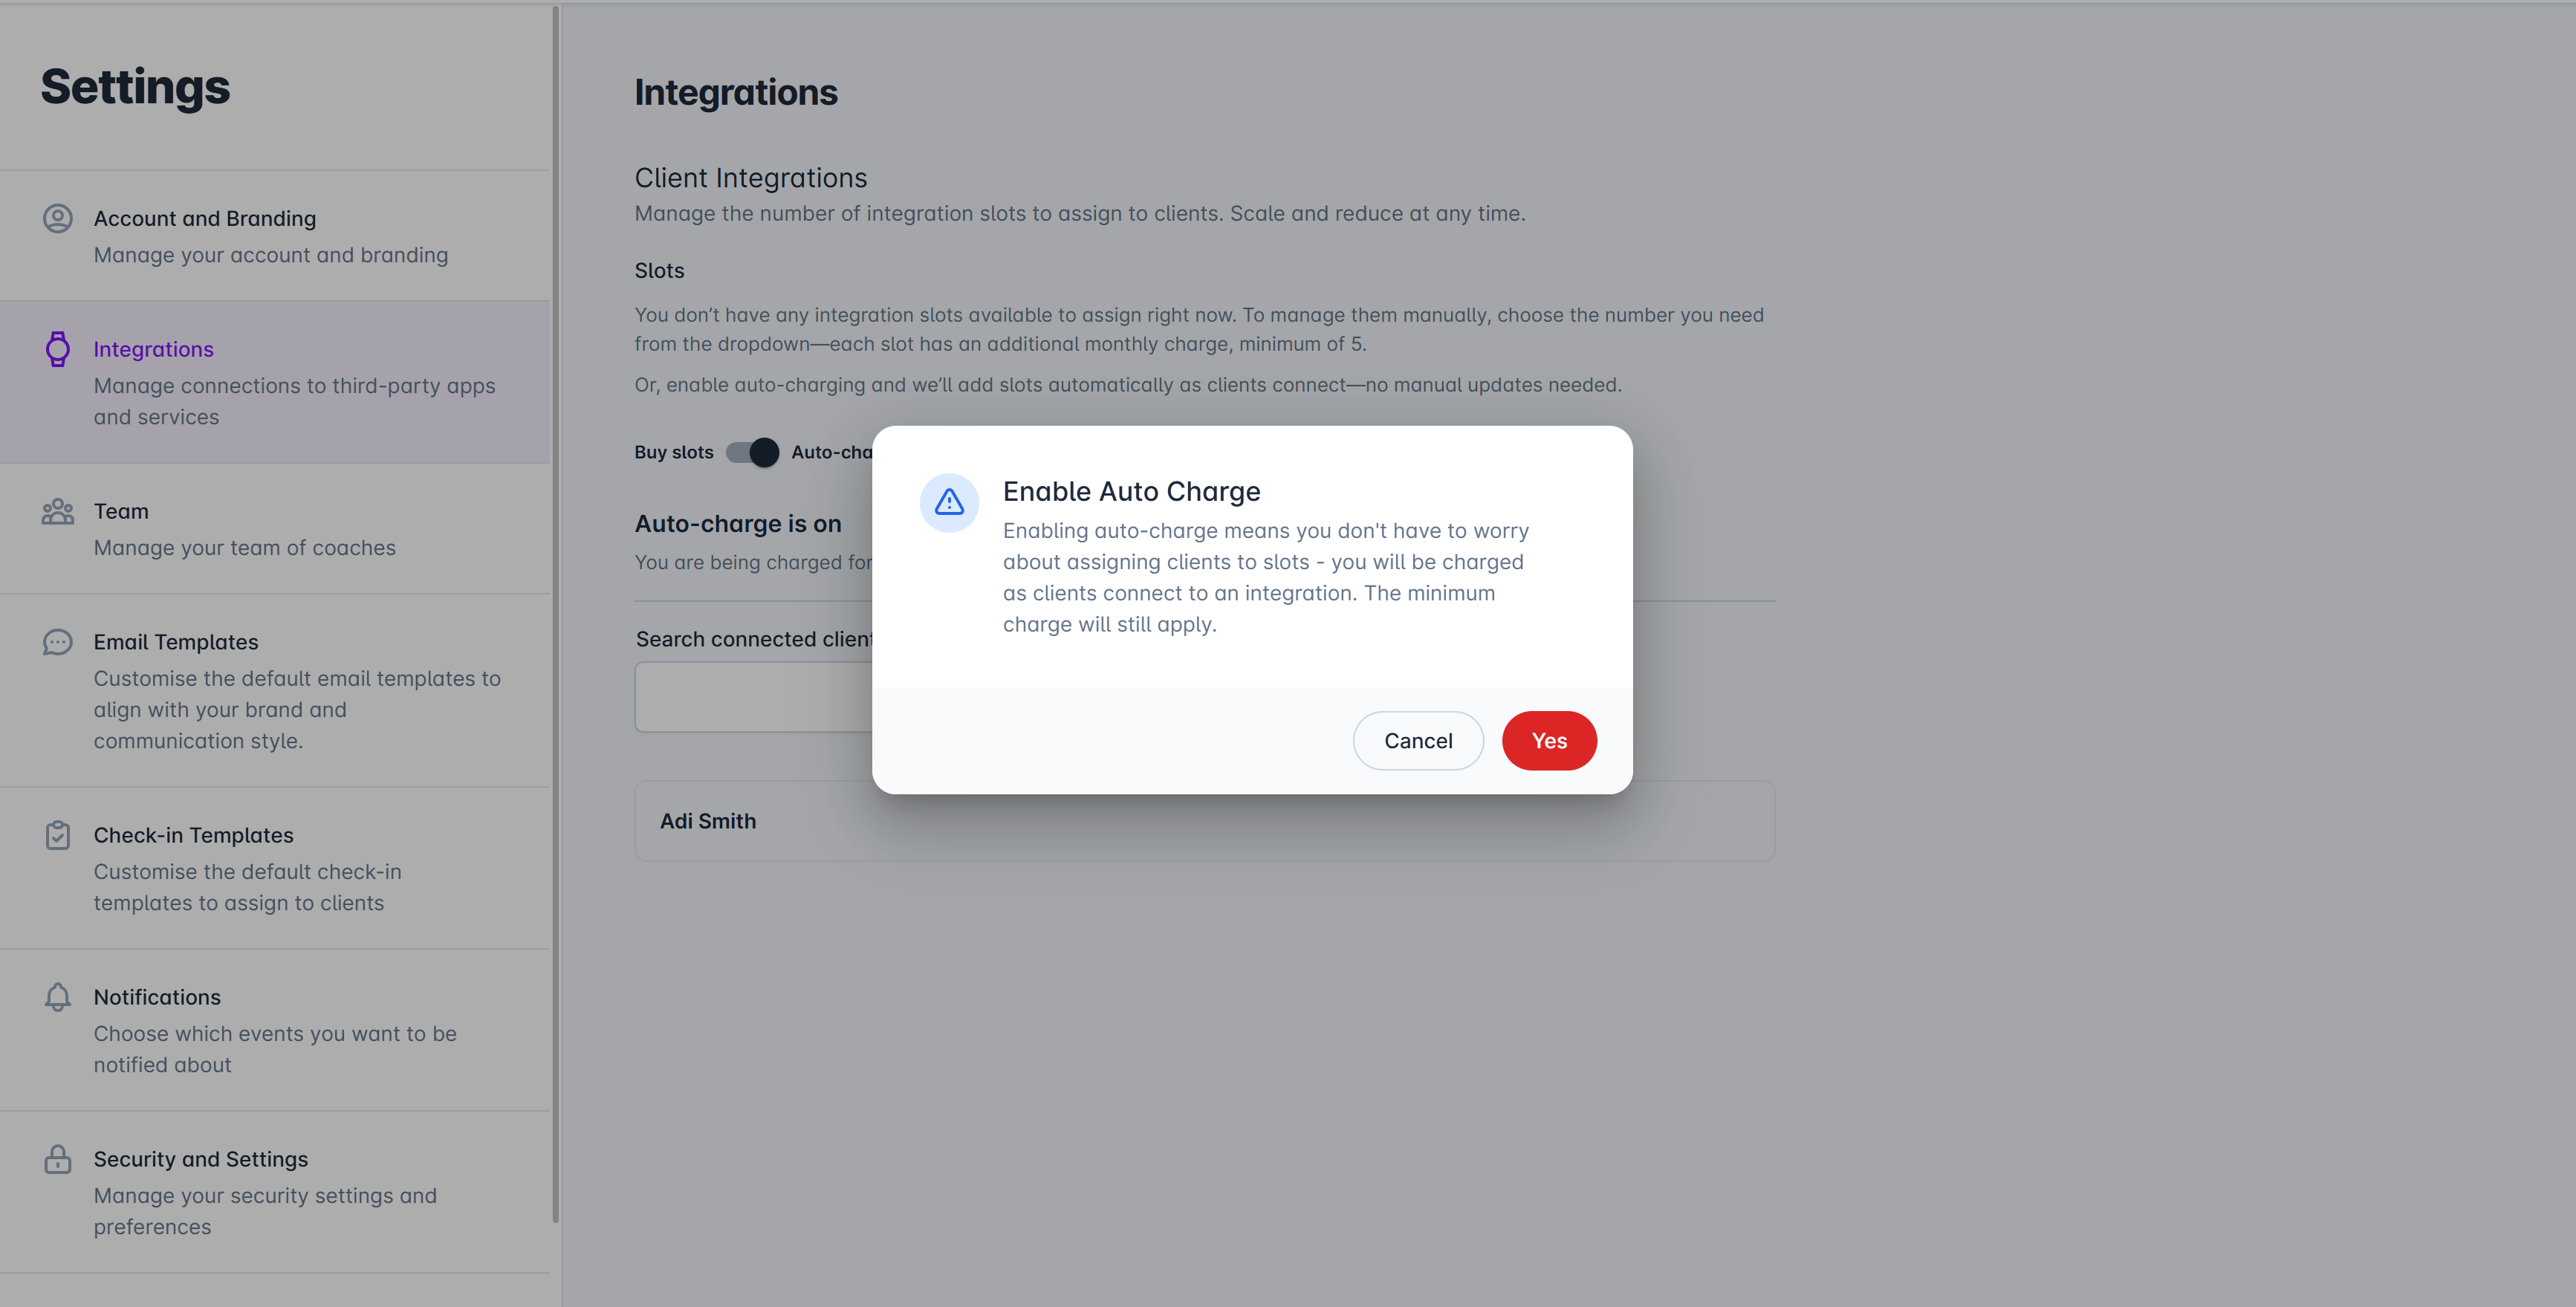
Toggle the Auto-charge setting to "On"
Review the billing change notification
Confirm to activate
All clients immediately see integration availability via home screen banner
Billing occurs automatically as clients connect
No manual assignment required
Real-time visibility of connected clients and their apps
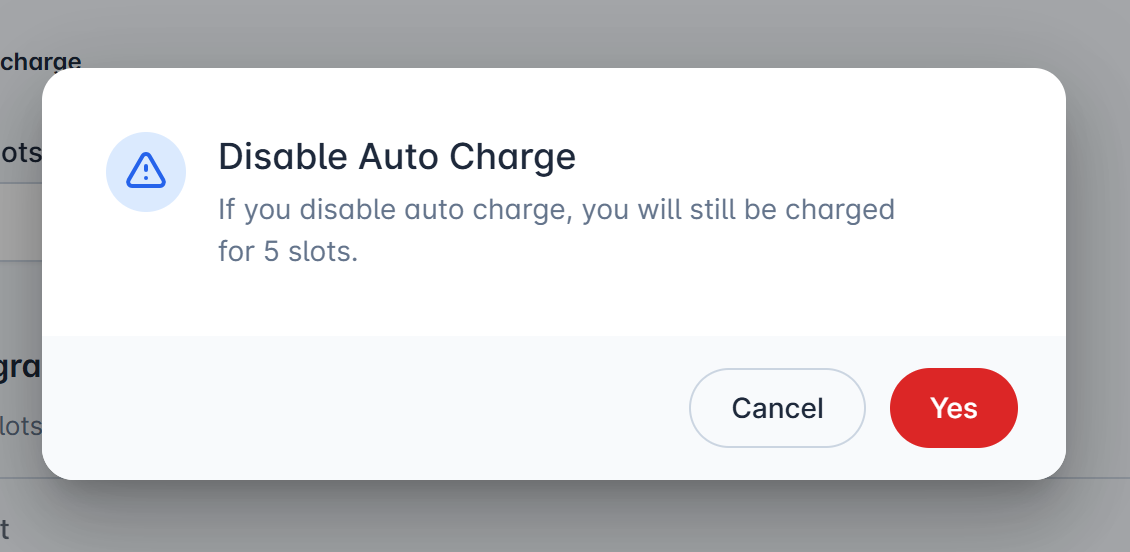
When you disable auto-charge:
Currently connected clients are automatically converted to manual slots
You'll receive a billing summary showing the conversion
Future clients will need manual slot assignment
Green badge: Successfully connected and syncing
Red badge: Authentication issue requiring client attention

The dashboard shows:
Which clients are connected
Which apps each client is using
Current connection status for each integration

Click the  icon next to the client's name
Confirm the disconnection
Client is removed from slot and all integrations are disconnected
To turn off integrations entirely:
Switch to manual slots mode
Deauthenticate all connected clients
Set slot count to 0 (zero)
